How to use Dimensions For ARCs & CIRCLEs
Free lesson how to use Dimensions For ARCs & CIRCLEs in AutoCAD
ARCs & CIRCLEs can be dimensioned using two commands.
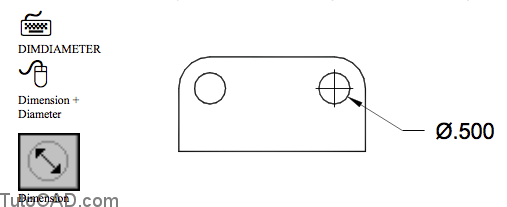
- use Dimdiameter to express the size in terms of a diameter (AutoCAD automatically adds a diameter symbol [ø] prefix)
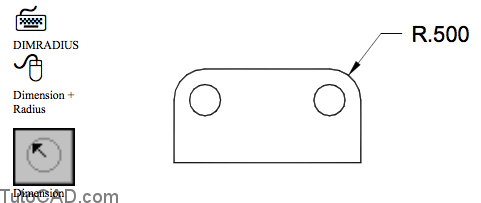
- use Dimradius to express the size in terms of a radius. (AutoCAD automatically adds a radius character [R] prefix)
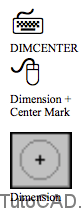
Center marks may be created automatically for both of these dimension types depending on the current dimension style used.
- you will learn more about dimension styles later in this module. – you can also manually create center marks of various sizes and styles using the Dimcenter command.

Practice: creating radial and diameter dimensions tutorial in AutoCAD
- Close the drawing from the previous exercise if it is open.
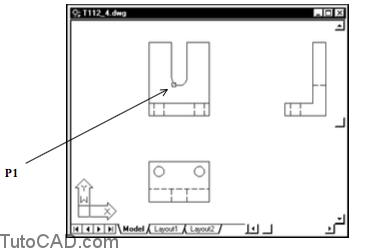
- Open the T112_4.dwg drawing in your personal folder.
- Pick Dimension + Radius and select the ARC near P1 when AutoCAD prompts for the ARC or CIRCLE.
4- Pick near P2 for the dimension line location to place the radial dimension.
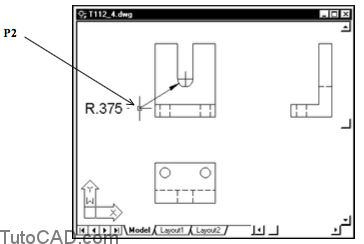
- R is automatically added as a prefix to the dimension text.
- A center mark is automatically created at the center of the ARC.
- You can also select a CIRCLE to create a radial dimension.
5- Pick Dimension + Diameter. Select the CIRCLE near P1 when AutoCAD prompts for an ARC or CIRCLE.

6- Pick near P2 as the dimension line location to create the diameter dimension shown.

- ø is automatically added as a prefix to the dimension text.
- A center mark is automatically created at the center of the CIRCLE.
- You can also select an ARC to create a diameter dimension.
7- Save the changes to this drawing and Close the file.