Saving Named Views To Render
You can Render the current view but composing that view every time you want to create a rendering can be time consuming.

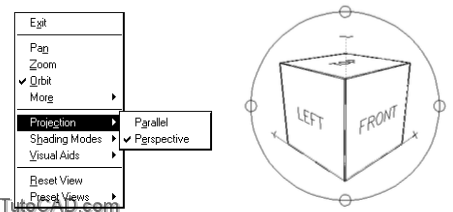
- you will probably want to use 3dorbit to compose & optimize a view for the active viewport.
- you may also want to change the projection to perspective for more realistic images.
- the right-click shortcut menu (when 3dorbit is running) is a convenient source of many tools to optimize your current view.
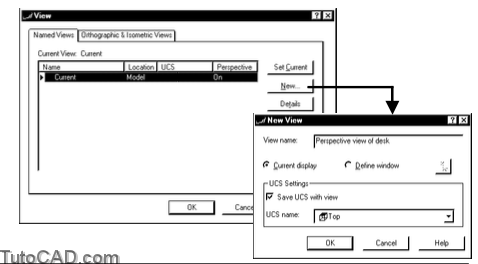
When you are satisfied your view you can use View to create a New Named View with a name of your choice.
- named views will be available to select (along with specific Lights) when you use the Scene command later on.
PRACTICE SAVING A NAMED VIEW
» 1) Close the drawing from the previous exercise if it is open.
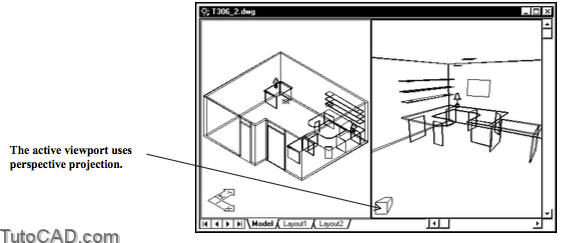
» 2) Open the T306_2.dwg file from your personal folder.
This drawing has not yet been set up to Render.
- to learn how to compose views (like the one in the right side viewport) see the Viewing 3D Drawings document (T302).
In this exercise you will save the view displayed in the right side viewport to use later on in Scenes.
- this view was already composed using 3dorbit and perspective was selected for the projection (the default is parallel).
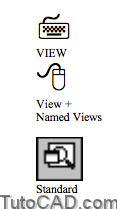
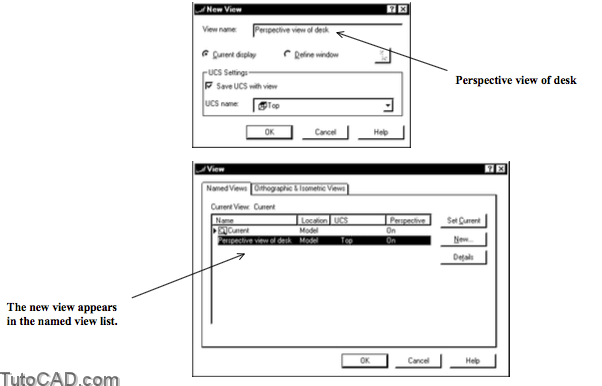
3) Pick View + Named Views. Pick the New button to continue.

4) Type Perspective view of desk as the View name & pick OK to return to the View dialogue box. Then pick OK.
»5) Save changes to T306_2.dwg for the next exercise.
More practice?
»6) Open the T306_3.dwg in your personal folder.
»7) Use 3dorbit to compose a perspective view similar to the illustration below.
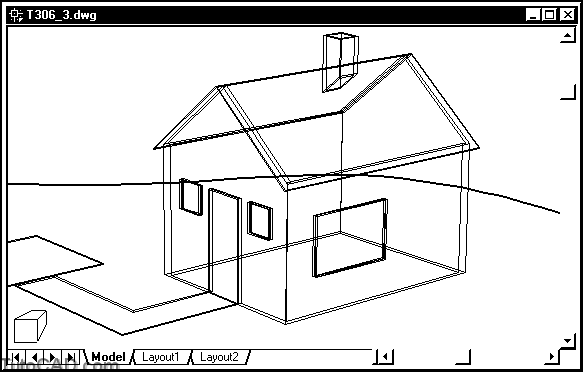
»8) Add a New View called House to save the current view.
»9) Save changes to T306_3.dwg for the next exercise.